
- By admin
- In Uncategorized
How to Plan a Rock-Solid TV Mount on Drywall, Brick, or Tile—No Costly Guesswork
Mounting a TV on drywall, brick, or tile without mistakes takes more than just a drill and a stud finder. Many tackle this project and end up with shaky mounts or damaged walls, wasting time and money. With TV mounting San Antonio experts like TSGSAN, you get clear steps to secure your screen properly, avoid costly guesswork, and enjoy a clean, professional finish every time. Ready for a flawless mount? Book your TV installation with TSGSAN today. https://www.facebook.com/groups/578918685650491/posts/2558101547732185/
Choosing the Right Wall Type
Understanding the wall type is crucial for a successful TV mount. Each wall material presents unique challenges and demands specific tools and techniques. Let’s explore how to tackle drywall, brick, and tile surfaces.
Assessing Drywall for TV Mounting
Drywall is common in many homes and can support a TV when done correctly. Start by locating the studs, as anchoring into them provides the strongest hold. Use a stud finder to pinpoint these supports accurately. If you can’t hit a stud, consider using toggle bolts designed for drywall. These bolts expand behind the wall, distributing the weight and ensuring a secure fit. Remember, a full-motion TV mount requires even more support, so ensure your mount’s weight capacity matches your TV’s.
Brick Wall TV Mount: What to Know
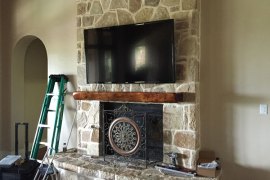
Brick walls offer a robust mounting surface, but require specific tools. Begin by using a masonry bit to drill into the mortar, not the brick itself, to avoid damaging the wall. Use masonry anchors or Tapcon screws to secure the mount. These are designed to grip the mortar tightly, providing stability for your TV. Be mindful of the drill size—going too large can weaken the hold. For a deeper dive into brick wall mounting, check this Reddit discussion for community tips.
Navigating Tile TV Mounting Challenges
Mounting on tile requires precision and care to prevent cracks. Begin with a diamond drill bit, which can cut through tile without shattering it. Apply gentle, steady pressure while drilling to maintain control. Once through the tile, apply the same principles as drywall or brick for securing the mount. It’s a good idea to use a low-voltage pass-through to conceal cords, maintaining a clean look. For a step-by-step guide, explore this Instructables article.
Essential Tools and Techniques
Having the right tools not only streamlines the process but also ensures safety and effectiveness. Let’s look at essential equipment for a successful installation.
VESA Mount Selection Tips
Choosing the right VESA mount is critical. Check your TV’s manual for its VESA size, which indicates the spacing of the mounting holes. This ensures compatibility with your mount. Opt for a tilt TV mount if you need to adjust the angle; a full-motion TV mount offers even more flexibility. Selecting the appropriate mount type enhances viewing comfort and protects your investment.
Effective Stud Finder Use
A reliable stud finder is indispensable for drywall installations. Modern models can detect studs, pipes, and wires, reducing the risk of drilling mishaps. Move the finder slowly across the wall, marking the stud edges. Confirm the stud’s center by measuring between the marks. For further guidance, Condomounts offers advice on no-stud TV wall mounts.
Masonry Anchors and Tapcon Screws
For brick installations, masonry anchors and Tapcon screws are your best bet. They provide the necessary hold against the dense material. Always select a screw length that penetrates the mortar deeply enough for a secure fit. This choice prevents the mount from loosening over time, ensuring your TV remains safely attached.
Perfecting the Installation
The final steps ensure not just safety, but also aesthetic appeal. Consider these techniques to perfect your setup.
In-Wall Cable Management Strategies
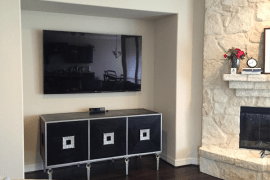
Cord concealment is crucial for a tidy look. Use an in-wall cable management kit to hide wires, keeping your setup clean and organized. Plan the cable paths carefully, avoiding electrical wires. This approach not only looks great but also enhances safety by preventing tripping hazards.
Power Relocation for a Clean Look
An outlet behind the TV keeps cords out of sight. If your current outlet is too low, consider power relocation. This step minimizes visible cables and complements an in-wall cable management system. Hiring a professional for this task ensures compliance with electrical codes and adds to the overall clean aesthetic.
Soundbar and Smart Home Integration
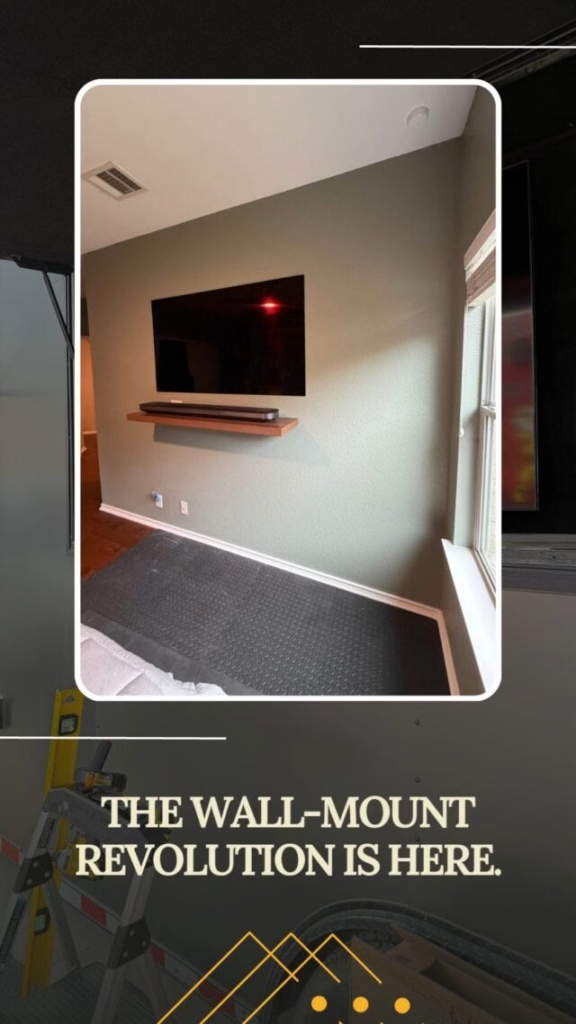
Integrating a soundbar enhances audio quality, making your home theater installation truly immersive. Mount it directly below your TV for optimal sound distribution. Additionally, consider smart home setup options, allowing you to control your entertainment system with voice commands. This integration simplifies operation and enhances your viewing experience.
🎯 Ready for a flawless mount? Book your TV installation with TSGSAN today! 📺
Frequently Asked Questions
How do I choose the right TV mount for my wall type?
Selecting a TV mount depends on your wall type and TV size. For drywall, a stud-mounted bracket is ideal. Brick walls require masonry anchors, while tile needs a diamond drill bit for installation.
Can I mount a TV without drilling into studs?
Yes, it’s possible using specialized anchors like toggle bolts for drywall. However, for maximum safety, especially with larger TVs, securing into studs is recommended.
What tools do I need for TV wall mounting?
You’ll need a stud finder, drill, appropriate drill bits, level, and the correct mounting hardware (e.g., VESA mount, anchors, screws) based on your wall type.
How do I conceal cables after mounting a TV?
Use an in-wall cable management kit to hide cables. This approach keeps your setup tidy and prevents tripping hazards, enhancing both safety and aesthetics.
How long does professional TV installation take?
A typical professional TV installation takes about 1-2 hours. This includes mounting, cable management, and any additional audio or smart home setup.